
Create your first PRESENTA Block plugin
Posted on March 5, 2021 in
2 min read
I've updated the documentation of PRESENTA Lib adding the plugin development section few days ago.
This was the first step to lowering the barriers for those who want to develop their own plugin.
The next step, no doubt, is tutorials. Here the first one:
Let's create our first Block!
A Block is the minimal content unit in a PRESENTA scene responsible to render a content in a specific way.
Here the GOAL:
Render an SVG circle in the middle of the block area.
Furthermore, let the user choose the color.
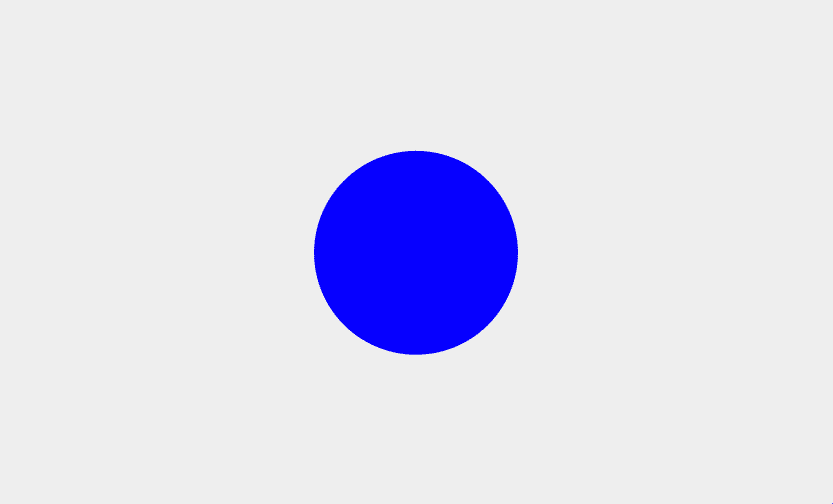
Here the code with some comments between the lines:
function aCircle(blockElement, blockConfig){

  // check the options
  const color = blockConfig.color || 'black'

  // create the SVG fragment
  const str = `<svg style="width:100%;height:100%;" xmlns="http://www.w3.org/2000/svg" viewBox="0 0 100 100">
        <circle fill="${color}" r="20" cx="50" cy="50"></circle>
    </svg>`

  // convert to a proper DOM fragment
  const parser = new DOMParser()
  const frag = parser.parseFromString(str, 'text/html').body.childNodes[0]

  // append it to the block container
  blockElement.append(frag)
}

// register the plugin with a unique namespace
Presenta.addBlock('aCircle', aCircle)
Keep in mind that blockElement is the block container DOM element where to append your content and blockConfig is the config object defined by the user.
This block has been registered with the name aCircle, thus, here how to use it in a PRESENTA Lib config:
const config = {
  scenes:[{
    blocks:[{
      type: 'aCircle',
      color: 'blue'
    }]
  }]
}

new Presenta('#app', config)
You can play with this plugin in Playground tool or check its source code here.